How To Make Whipped Cream With Heavy Cream? It sounds fancy, but it’s actually super easy! This guide breaks down everything you need to know, from understanding the different types of cream to achieving those perfect, fluffy peaks. We’ll cover essential tools, step-by-step instructions for both hand and stand mixers, troubleshooting common issues, and even some fun flavor variations to impress your friends (or yourself!).
Get ready to whip up some seriously delicious whipped cream.
We’ll explore the science behind whipping heavy cream, explaining why fat content is key to achieving that dreamy texture. Learn to identify the perfect consistency, avoid common mistakes like over-whipping, and discover creative ways to elevate your whipped cream game. Whether you’re a baking novice or a seasoned pro, this guide will help you master the art of whipped cream making.
Understanding Heavy Cream
Heavy cream is the star ingredient in whipped cream, and understanding its properties is key to success. The fat content is the most crucial factor influencing the final texture. Let’s explore the nuances of heavy cream and its variations.
Fat Content and Texture
Heavy cream typically boasts a minimum fat content of 36%, although some brands may offer higher percentages, reaching up to 40%. This high fat content is what allows heavy cream to whip into a stable, airy cloud. Lower fat content results in less volume and a less stable whipped cream that may be more prone to separating or weeping.
The higher the fat percentage, the richer and more stable the whipped cream will be.
Cream Types Compared
It’s important to distinguish between heavy cream, whipping cream, and light cream, as their fat content significantly impacts their whipping capabilities. Whipping cream usually has a slightly lower fat content (around 30-35%), still suitable for whipping but yielding a less voluminous result compared to heavy cream. Light cream, with a much lower fat content (around 18-30%), is not ideal for whipping and will likely result in a thin, watery product.
| Cream Type | Fat Content (%) | Whipping Ability | Texture |
|---|---|---|---|
| Heavy Cream | 36-40 | Excellent | Rich, thick, stable |
| Whipping Cream | 30-35 | Good | Less voluminous, slightly less stable |
| Light Cream | 18-30 | Poor | Thin, watery |
Essential Tools and Ingredients
Gathering the right tools and ingredients is crucial for achieving perfectly whipped cream. The process is straightforward, but using the correct equipment will significantly improve your results.
Essential Tools
You’ll need a mixing bowl (preferably stainless steel or glass, as these materials help maintain a cold temperature), a whisk (either a balloon whisk for manual whipping or the whisk attachment for an electric mixer), and an electric mixer (handheld or stand mixer). A chilled bowl and whisk are essential for optimal whipping.
The Importance of Chilled Ingredients
Using a chilled bowl and whisk helps maintain the cream’s coolness throughout the whipping process. Warm cream will not whip as effectively, resulting in less volume and a less stable product. The cold temperature helps the fat molecules in the cream to solidify, creating a more stable emulsion.
Optional Flavor Enhancers
Vanilla extract, powdered sugar, and cocoa powder are popular additions to enhance the flavor of whipped cream. Feel free to experiment with other extracts, spices, or even liqueurs to create unique flavor combinations.
- Vanilla Extract
- Powdered Sugar
- Cocoa Powder
- Espresso Powder
- Fruit Purees
The Whipping Process: Step-by-Step
Source: joyfoodsunshine.com
Whipping cream can be done either manually with a whisk or with the convenience of an electric mixer. Both methods yield delicious results, but the process and outcome differ slightly.
Hand Mixer Method
- Pour chilled heavy cream into a chilled bowl.
- Beat on low speed until the cream begins to thicken.
- Gradually increase the speed to medium-high, adding sugar or flavorings as desired.
- Continue beating until stiff peaks form.
Stand Mixer Method
- Pour chilled heavy cream into the chilled bowl of a stand mixer.
- Attach the whisk attachment and beat on low speed until the cream begins to thicken.
- Gradually increase the speed to medium-high, adding sugar or flavorings as desired.
- Continue beating until stiff peaks form.
Hand Mixer vs. Stand Mixer
| Method | Results |
|---|---|
| Hand Mixer | Requires more effort, but provides a good workout! Results in slightly less volume compared to stand mixer, but still delicious. |
| Stand Mixer | Effortless and efficient, resulting in a larger volume of whipped cream with a smoother texture. |
Achieving the Perfect Consistency
Knowing how to identify the perfect consistency is essential for whipping success. This section Artikels the characteristics of perfectly whipped cream, common mistakes, and tips for achieving the desired result.
Characteristics of Properly Whipped Cream
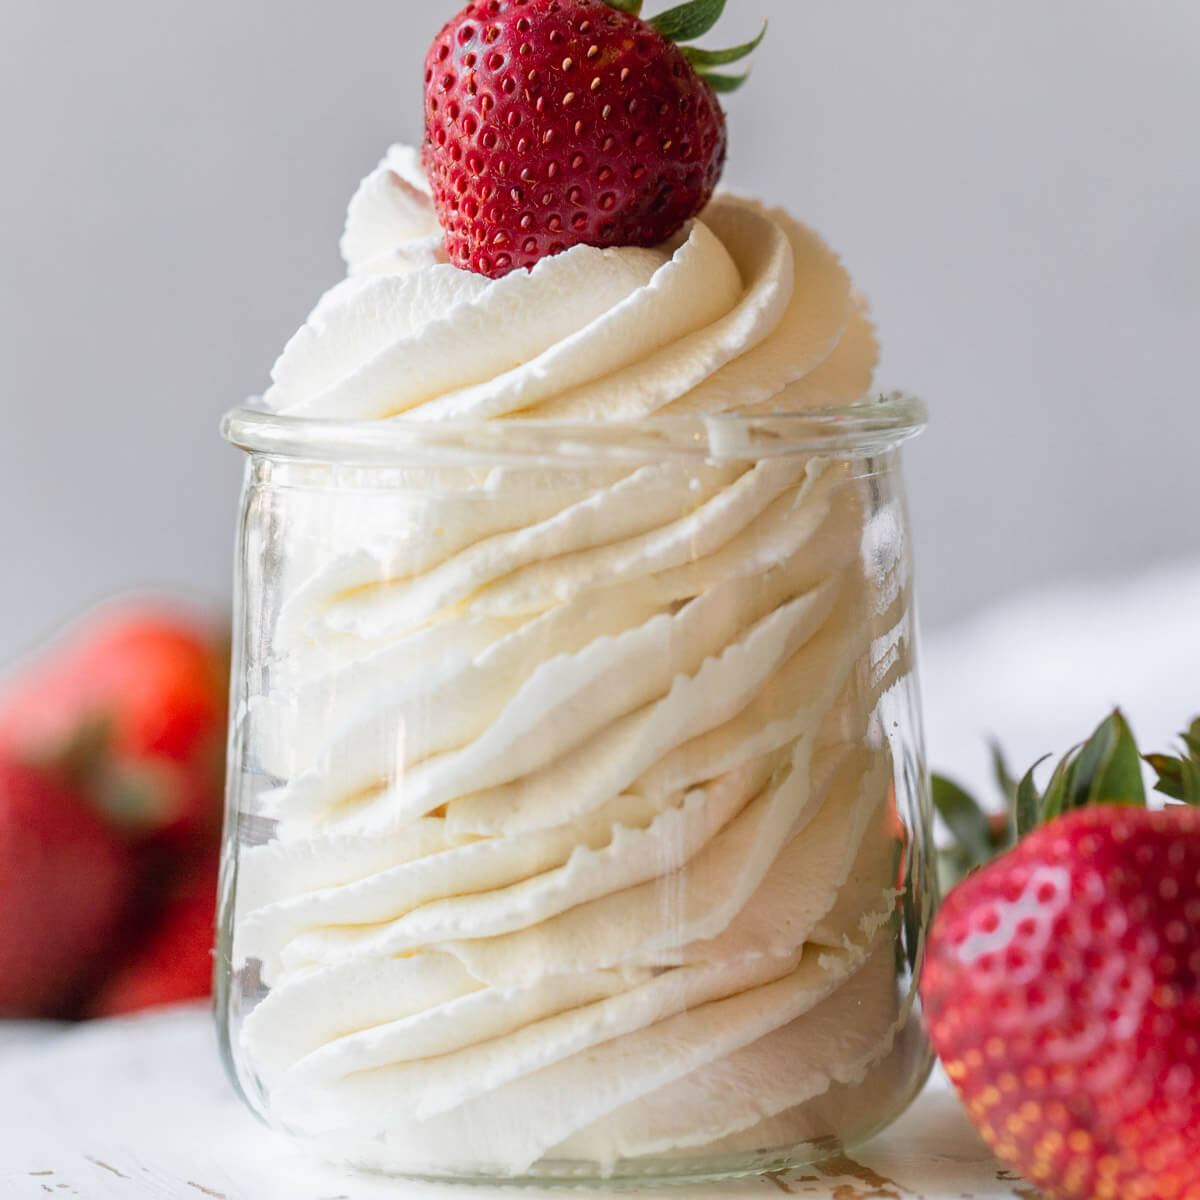
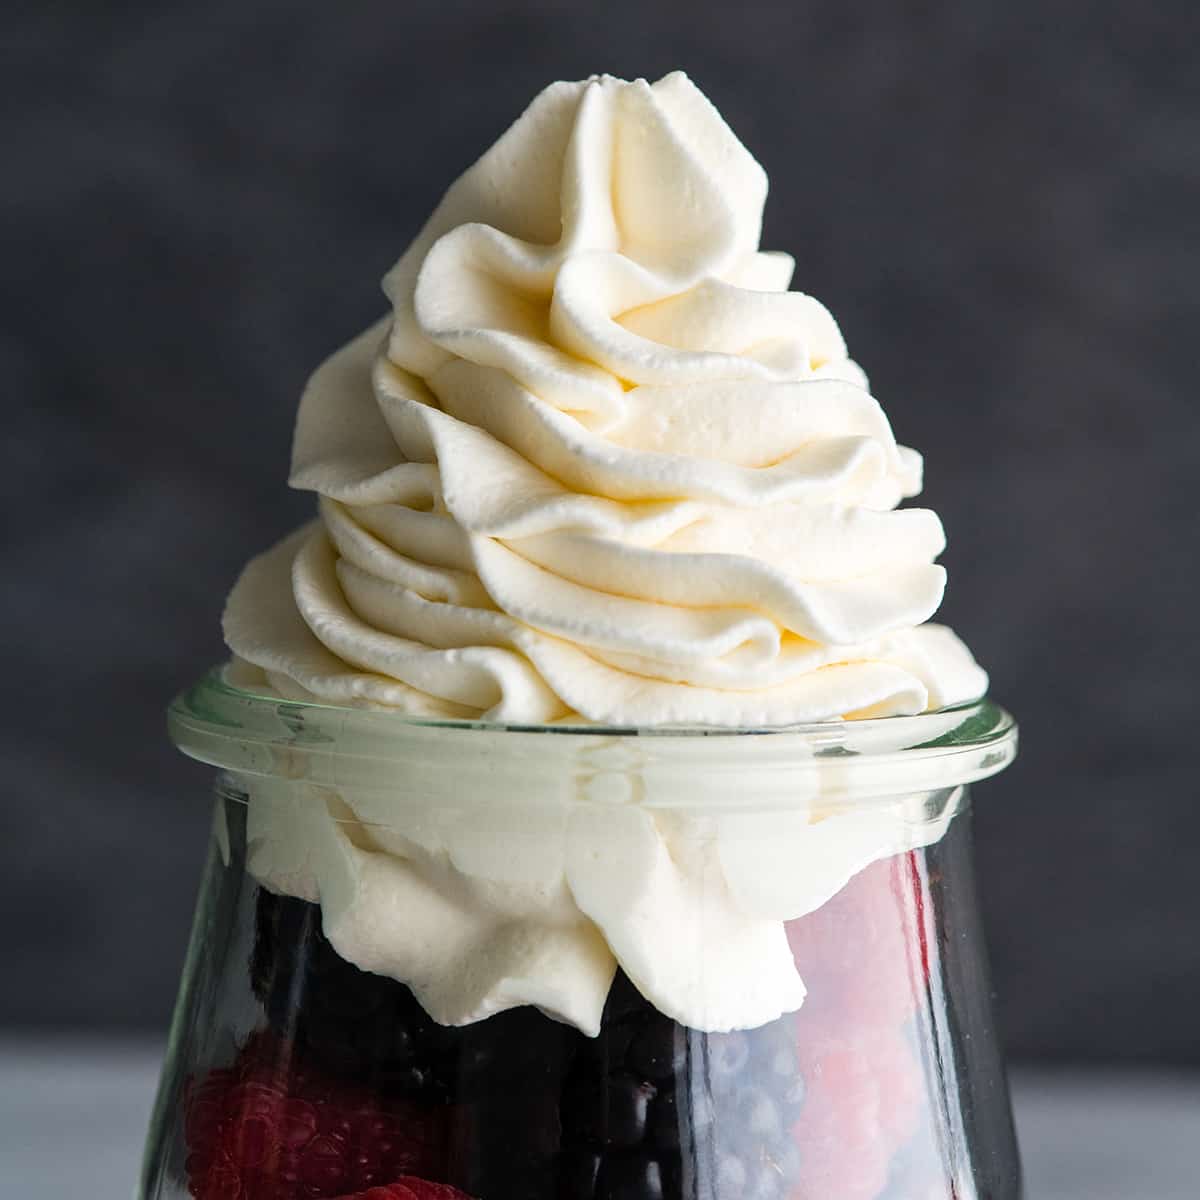
Properly whipped cream should hold stiff peaks. When you lift the whisk or beaters, the cream should form peaks that stand tall and hold their shape. The texture should be smooth, light, and airy, not grainy or watery.
Common Mistakes
Over-whipping incorporates too much air, resulting in a grainy, buttery texture, while under-whipping leads to a thin, runny consistency. Incorrect temperature can also affect the outcome.
Tips for Perfect Whipped Cream
Maintain a cold environment throughout the process, control the speed of your mixer (start low and gradually increase), and stop whipping as soon as stiff peaks form to avoid over-whipping. Using fresh, high-quality heavy cream is also crucial.
Creative Variations and Flavor Combinations: How To Make Whipped Cream With Heavy Cream
The beauty of whipped cream lies in its versatility. A simple base can be transformed into a myriad of delicious flavors. Here are three examples to inspire your culinary creativity.
Obtain recommendations related to listcrawing that can assist you today.
- Chocolate Whipped Cream: Add 2 tablespoons of unsweetened cocoa powder and 1 teaspoon of vanilla extract to the heavy cream while whipping. Adjust sweetness with powdered sugar as needed.
- Coffee Whipped Cream: Incorporate 1-2 tablespoons of instant espresso powder along with 1 tablespoon of powdered sugar to the whipping cream. A dash of vanilla extract adds depth.
- Raspberry Whipped Cream: Fold in 1/2 cup of fresh or frozen raspberries (pureed) into the whipped cream once it’s reached stiff peaks. A touch of powdered sugar balances the tartness.
Different flavorings can impact the texture and taste of the whipped cream. For example, adding cocoa powder might slightly thicken the cream, while fruit purees could make it slightly less stable.
Troubleshooting Common Issues

Source: livewellbakeoften.com
Even experienced bakers encounter problems when whipping cream. This section addresses common issues and their solutions.
- Problem: Curdling. Solution: This often happens due to warm cream or over-whipping. Use very cold cream and whip gently.
- Problem: Lack of volume. Solution: Ensure the cream is very cold and use a clean, cold bowl and whisk. Check that your cream has a high enough fat content.
- Problem: Over-whipped cream. Solution: Add a tablespoon or two of fresh, cold heavy cream and gently whisk to loosen the texture. It might not be as airy, but it’s still usable.
- Problem: Under-whipped cream. Solution: Continue whipping until stiff peaks form. If it’s already too thin, it’s best to start again with fresh, cold cream.
Storage and Shelf Life
Proper storage is key to maintaining the quality and freshness of your whipped cream. This section provides guidance on how to store and preserve your creation.
Storage Methods
Store whipped cream in an airtight container in the refrigerator. To prevent it from drying out, you can cover the surface of the whipped cream with plastic wrap before sealing the container.
Shelf Life, How To Make Whipped Cream With Heavy Cream
Whipped cream typically lasts for 2-3 days in the refrigerator. However, its texture and flavor may start to degrade after a couple of days. It’s best to consume it within 2 days for optimal quality.
Preventing Separation
To prevent separation, avoid temperature fluctuations. Ensure the container is tightly sealed to prevent air exposure, which can lead to the cream becoming watery.
Visual Guide: Whipping Stages
Understanding the visual cues during the whipping process helps you achieve the perfect consistency. This section describes the appearance and texture at each stage.
Under-whipped Cream
Under-whipped cream appears thin and runny. It will not hold any peaks when you lift the whisk. The texture is smooth but lacks the airy quality of properly whipped cream.
Perfectly Whipped Cream
Perfectly whipped cream is thick and holds stiff peaks that stand tall and hold their shape. The texture is light and airy, with a smooth, velvety consistency. It’s fluffy and cloud-like.
Over-whipped Cream
Over-whipped cream is grainy and dense. The peaks are stiff but appear short and clumpy. The texture is thick and buttery, almost like a soft frosting. The cream may appear slightly separated.
Ending Remarks
Making whipped cream at home is easier than you think, and the results are totally worth it! With a little practice and the tips in this guide, you’ll be whipping up perfectly textured, delicious whipped cream for all your sweet treats and desserts. So ditch the store-bought stuff and give this a try – you might just surprise yourself!


